Most of our plugins are free for you to use. But there are some exclusive and insanely effective features that are only available with the Premium Version. So either reason, you’ll need to know the basics and other issues related to updating a plugin into Pro. Here, you’ll be guided through this topic.
When you’re not satisfied with the free version, you may upgrade your plugin to the pro version. For most plugins, you can upgrade your free version into a pro by following two easy steps. Here below, you’ll learn both:
1. Product Activation License:
The first method is by activating the license key of the Pro Plugin. Whenever you make a purchase you’ll receive a Software License code from your plugin vendors. Once you have it to use the Pro version, follow the steps below to go up and running:
⇒Getting your License Key:
-
- In the case of our plugins, first of all, you’ll need to register for joining us.
- Then, Log in to the Oxilab Account by signing in and make a purchase of the Flipbox – Awesome Flip Boxes Image Overlay.
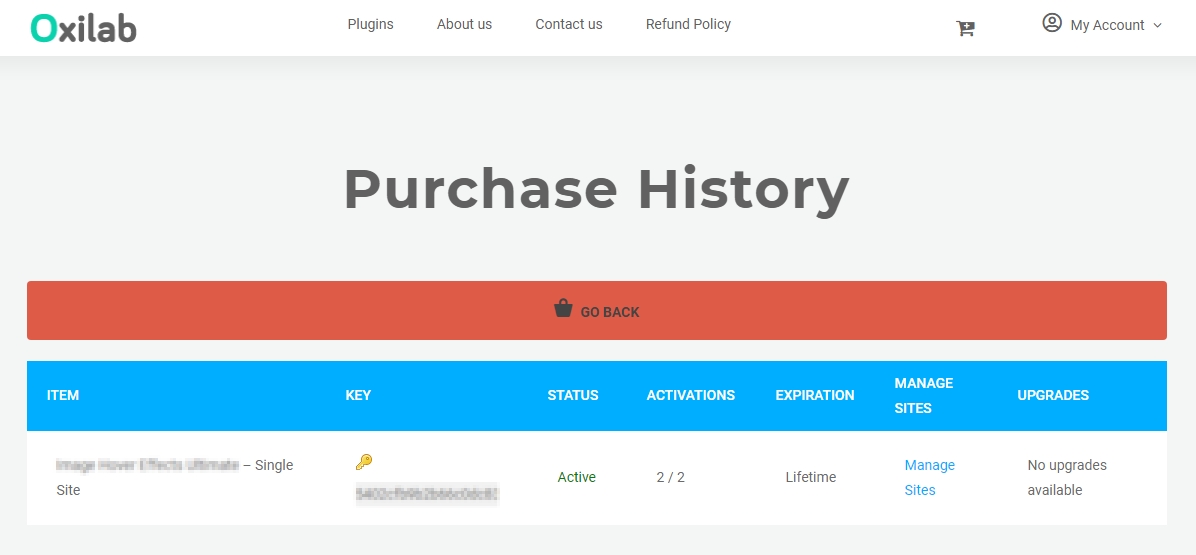
- Now once you successfully purchase a plugin or upgrade one, navigate My Account >Downloads. Here, You will see your purchase history.
- Now, Click on “View Licenses” for your product. Select and copy the license key.
⇒Activating the License:
-
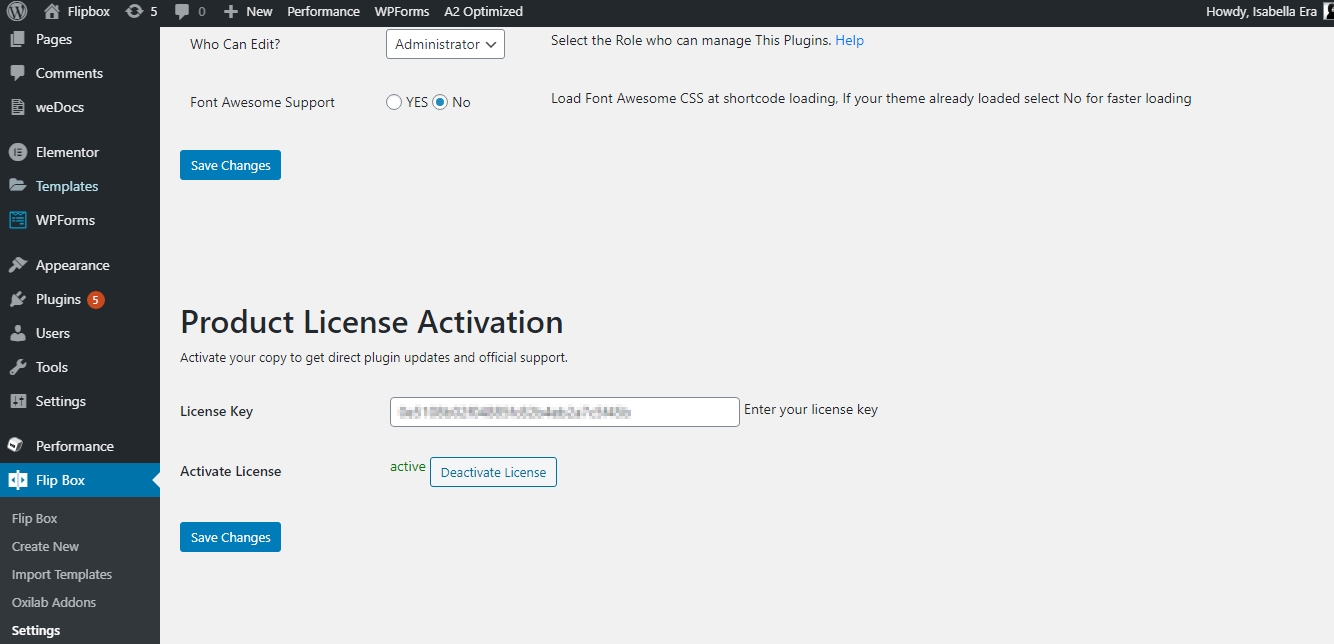
- Navigate Flip Box> Settings> Product License Activation
- Enter the Product Key and click the Save Changes button.
- After saving the activation code Click on the Active License button to Activate the plugin into a pro.
After upgrading the plugin by activating the product license you’ll be able to get direct plugin updates and essential official support and much more.
2. Installing the Pro Version
Another method of switching the Pro version is to install the ‘Pro’ file directly from the dashboard. Follow the steps below:
⇒Removing the Free version from the Dashboard First:
-
- First, Uninstall the free version from the Installed Plugins
- And then, delete the file from the directory.

⇒Get the Premium File:
-
- Navigate My Account >Downloads. Here, You will see your purchase history.
- Now, Click on “View Details and Downloads” for your product.
- You’ll be redirected to the plugin details page where you’ll find the link to download the Plugin file.
- Click on the link and download the Pro version of the plugin file.
Note: You can get access to the Downloadable Premium plugin file only if you successfully make the purchase. We don’t provide the Premium file of the plugin to any non-paid user.
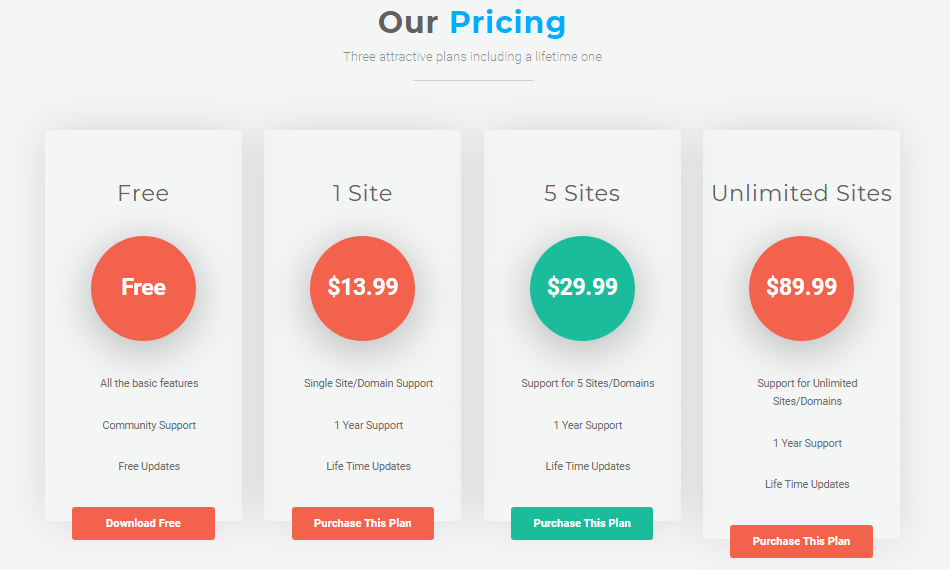
And this file will only work on one site. For using the plugin for multiple sites, you’ll need to upgrade the package of the plugin.
⇒Installing the Premium File:
Now, you need to just install the pro version directly from your dashboard. Follow these steps:
-
- Navigate to Plugins> Add New
- Click on the Upload Plugin button on top of the page
- Now, click on the Choose File button and select the zip file of the Pro Plugin which you downloaded before.
- After you’ve selected the file, you need to click on the Install Now button.
- After installation is finished, simply click on the ‘Activate’ button.
After activating the plugin, you will be redirected to the premium version of the plugin page.
To see more details on uploading and installing the plugin file directly, see the previous tutorial Here…
That’s all. Your plugin just upgraded to Pro! Now you can enjoy unlimited fun!